Friday, October 29, 2010

A Halloween Homecoming

My daughters have a friend who was born in the US and lived here up until the age of 5. Last year, she moved back to her parent's homeland. Last weekend she arrived for her first visit back to the States, so we celebrated with a Halloween-themed homecoming party.

First were the hugs and squeals to pass around.
After much playing and giggling, the girls in attendance got down to serious craft making.


My thanks to Mama King for supplying the idea of  these simple prepare-in-advance paper bats that also serve to hold a lollipop.

There was the obligatory kid's requested pizza party. (They thought was funny that they all sat at the kitchen table and mom and dad were relegated to the kids table!)

To wrap up the evening, we had drop in guests of neighbors and the mom/dad/lil brother of one girl arrive just in time for the scavenger hunt and dessert. The kids had to search for clues around the yard that lead them to the sweet toppings (frosting, candy corn, m&m's, marshmallow ghosts, and orange sprinkles)

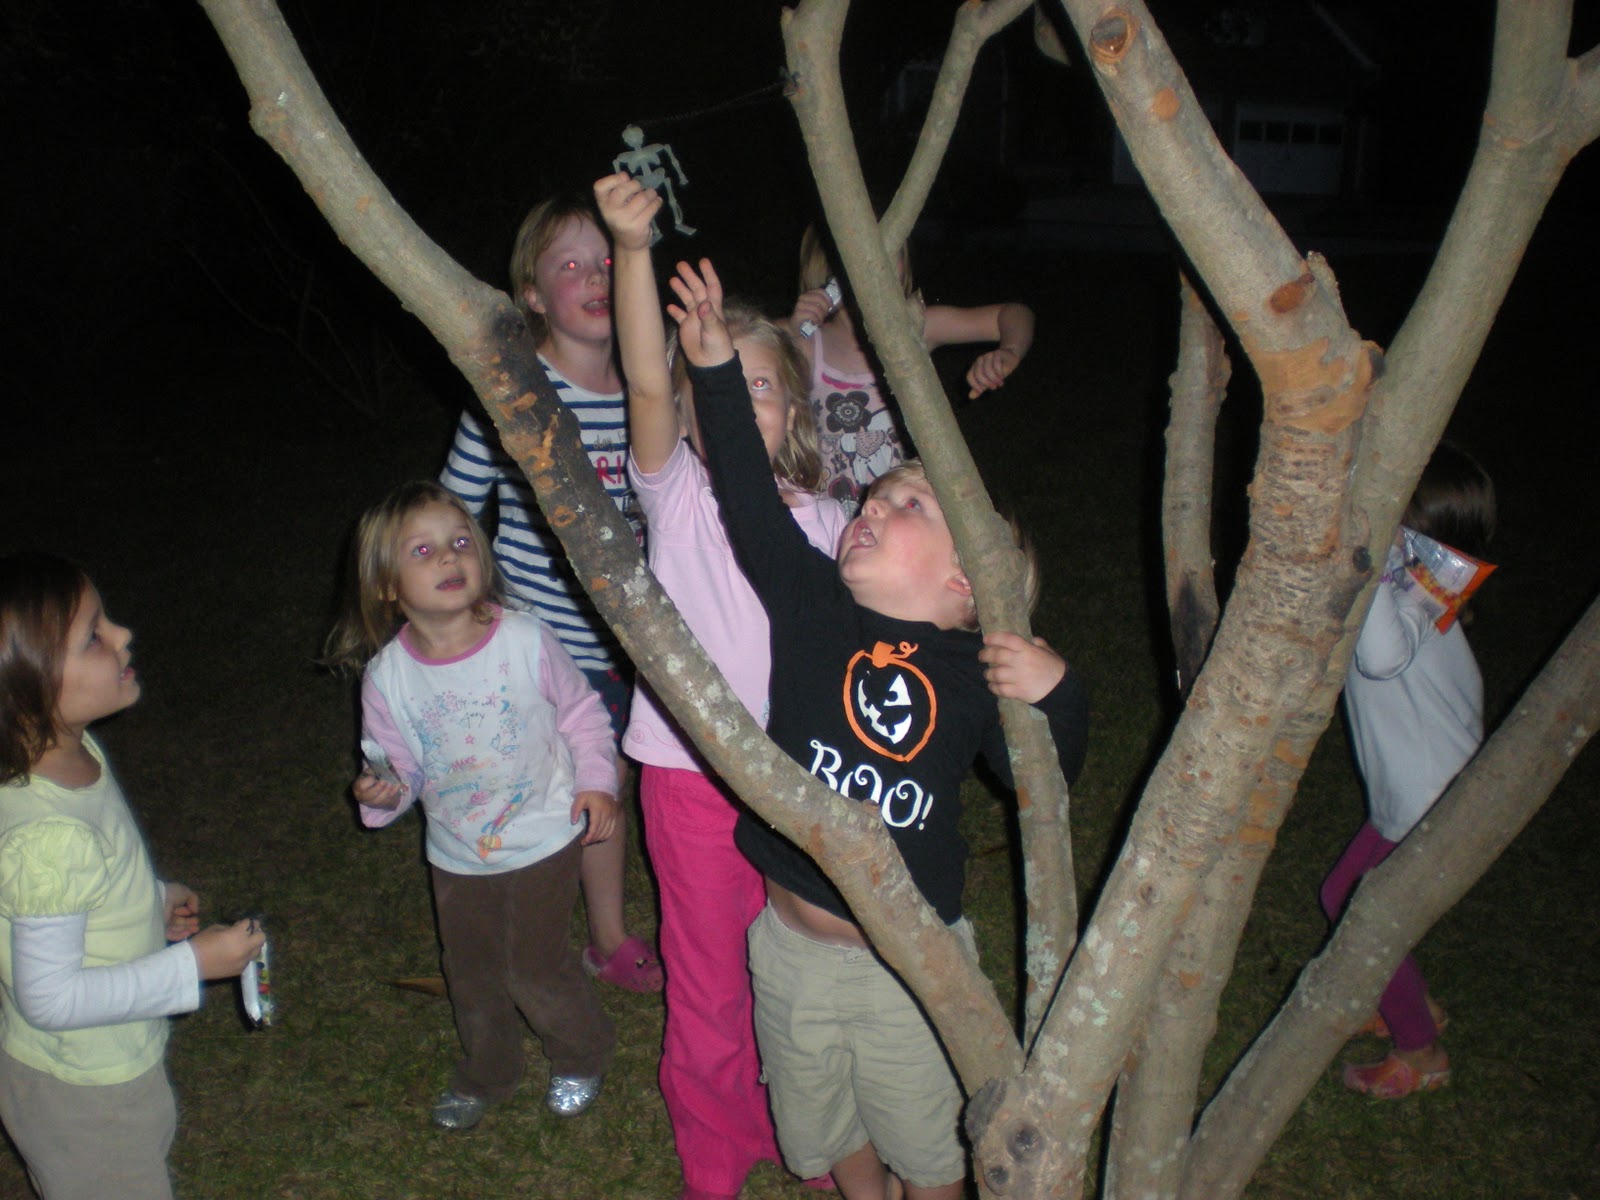
to decorate their own Devilishly Good Cupcakes:
A very special night of reconnecting with friends and getting us in the Halloween mood. I hope to get back to you with more of the great Halloween fun I've been knee-deep in this month but haven't made time to post about yet.

Tuesday, October 26, 2010

Pumpkin Fever!

What is one to do when Pumpkin Fever strikes? Make as many pumpkins as possible!

Friday: The girls painted a pumpkin patch - using water balloons (inflated to different sizes) dipped in orange paint, and a green marker for the vines.
Saturday: They assembled 3D paper pumpkins. Eight strips of orange cardstock (each just under an inch wide), two small brads to connect the ends, and a loop of green construction paper glued to the top for a stem. 

Then they drew jack-o-lantern faces on orange paper sacks, stuffed them with balled up newspaper, and added contruction paper leaves and a pipecleaner stem they had coiled around a pencil.

 Sunday: And last but not least, they broke out the paint brushes once again to jazz up their mini pumpkins.
Next Saturday we get to carve the big ones!

Wednesday, October 13, 2010

Lighthouse with a View

This past weekend, we headed over to South Carolina to visit my in-laws. They live on a salt water creek that puts on a daily display of nature's wonders. Steadfast sweetgrass in the changing tide, numerous water birds (heron, ibis, cranes, laughing gulls) and regular dolphin sightings. We witnessed one family of dolphins  'storming' the shore line, making almost ominous waves in pursuit of their shrimp dinner.

B and I spent a good deal of time spying on a couple sting rays circling around the dock, stirring up the fluff mud in search of food. The two of us were also invited by a neighbor to watch him cast and haul in his shrimp net. Along with some decent sized shrimp, he also netted a young flounder (about 7 inches) and a mini squid which he taught us appears white on the surface, but turns black when released to the water again.


One afternoon, the hubby and I were able to venture out on our own and take a walk on the beach at Hunting Island State Park. It is an incredible spot, with enormous trees dotting the coastline, downed by the encroachement of the sea. This is our 7th year coming to this beach, and it's the 1st time we took the opportunity to climb the lighthouse. The only lighthouse in the state of SC open to the public, mind you.

After climbing 167 steps of the spiral staircase...


this was the view of the beach from 132 feet in the air.


Personally, I kind of enjoyed the view from one and a half feet directly in front of me. :)

Monday, September 27, 2010

Good Deal and Good Fun

My girls needed a pair of new toothbrushes, and as I was scanning the dental care aisle at Target, I spied this little number:
The Firefly Toothbrush that blinks for one minute at a time. Of course, in typical American consumer culture, there were Barbie and Hot Wheels varieties available, too. But I thought the light up factor was special enough to please my kids. And for $1.02 each, it's even a great price for a toothbrush, period!

Now the girls brush their teeth for one minute in the dark, then mom or dad check their teeth for another minute. It's kind of freaky seeing their cheeks and nostrils illuminated in red, but if it keeps them brushing, I have no problem with it.


A little added bonus: the dentist has recommended that my oldest use a fluoride rinse every evening, and according to the directions on the bottle, the child should swish for an entire minute. So now my daughter doesn't have to trek back and forth to my nightstand to observe my alarm clock, she can just reset the Firefly and after one minute, she's done.

Wednesday, September 15, 2010

Going on a Nature Hunt

Recently our family took a picnic lunch to a park that has a 1 mile walking trail around a lake. After playing at the playground for an hour, followed by feeding the ducks lakeside, my oldest did not want to embark on a 1 mile hike. My youngest followed suit, feigning that she, too, was uninterested.
Well, I didn't want to walk the trail alone, and I wanted to see my kids getting some exercise. Somehow, I turned up the charm only the way a mommy can, and I offered a "magic" bag to contain a nature collection for our walk. (Yup, that's an empty tortilla bag. Didn't you know that ducks like tortillas?)


So, off we went, just my youngest and I, trying to find leaves from as many different trees and plants as we could find. Turns out there were a lot of varieties.


My reason for this post, (aside from the obvious one of me schooling you on our local ducks' diet)?
Well, I hope that what my daughter did following our Nature Hunt is a good indication of a happy childhood.


Now get out there and find some HAPPY leaves and sticks of your own!

Monday, September 13, 2010

What are you going to do with all those shells?

Design custom mermaids of course! Add a few gems, pearls, pipe cleaners (?) and paint strokes and you'll have a few fine maids of the sea.
M wanted to draw her own mermaid. Then she was so pleased with her first design, she replicated a second one to bring in for her art teacher. Check out the mini corkscrew shell earrings!


B let me design and cut out her first one (the largest version at top), then she took a stab at her own, more diminutive mermaid.


When the creating is complete, your little mermaids or mermen may enjoy a reading of Mermaids on Parade by Melanie Hope Greenberg. It's a story about a young girl in Brooklyn who joins the annual Coney Island parade to mark the beginning of summer. I'm still holding on to the last rays of summer sun before fall takes a stronghold.

Tuesday, August 31, 2010

Summer Cool Down, Target style

Oh Target, My Target. How I love you so. Especially during summer clearance time. I mean it. Seriously. How can you top a Slip and Slide for $2.49?!? Obviously my girls don't think you can.


(We learned pretty quickly that we had to move said Slip and Slide from a level area to an area with a downward slope. Phew! That saved a lot of energy previously spent dragging them down to the end. My arm muscles were still sore the next day.) 

Then to add applause to admiration (my own saying that's the reverse of 'adding insult to injury'), I also scored a Sunbeam 1 qt. canister ice cream maker for $12.50!


The girls were ready to bring it home and start making ice cream right away. Of course I had to explain to them that the canister had to set up in the freezer for 24 hours.

That gave me time to gather all the ingredients for this recipe:
Chocolate Chip Mint Ice Cream
(yes, I know it's 'backwards', but that's what my daughters call it)

2 cups 2% milk
2 cups heavy cream
1 cup sugar
1/2 teaspoon salt
1 teaspoon vanilla extract
1 teaspoon peppermint extract
3 drops green food coloring (optional)
1 cup miniature semisweet chocolate chips

1. In a large bowl, stir together the milk, cream, sugar, salt, vanilla extract and peppermint extract until the sugar has dissolved. Color to your liking with the green food coloring.

2. Pour the mixture into an ice cream maker, and freeze according to the manufacturer's instructions. After about 10 minutes into the freezing, add the chocolate chips. After the ice cream has thickened, about 30 minutes later, spoon into a container, and freeze for 2 hours.

It really helps to prechill the ice cream mixture (actually pre-freeze for 20or 30 minutes) before pouring into the canister. Room temperature ingredients are tough to solidify!

And did I mention that the Target ice cream cones were .92 cents?!
~Bliss!~


Sunday, August 22, 2010

Homemade Htipiti

What is Htipiti? It is an outrageously yummy dip made with 4 ingredients...and a processor. If you're like me and enjoy Greek food (evidenced in a previous post) you must try this!

My recipe is inspired from a local restaurant my family frequents called Athens Kouzzina. I am never disappointed by any dish that I have tried there, from traditional salads and gyros, to pastas and seafood. My kids like it because they are allowed to draw on the paper tablecloths.

You will need
  • a 12 oz jar of roasted red peppers
  • 4 oz feta cheese
  • a splash of olive oil
  • a pinch of pepper flakes (optional but strongly encouraged for a good KICK)
 

First step, drain the roasted red peppers in a colander and then blot over a couple of paper towels. This keeps the final product from becoming runny. You also want to wipe off as much of charred skin as possible. (Caution: this will turn your fingernails red/orange for a day.)


Then you need to drain the liquid from the feta and slice it up.

Next, dump the peppers and feta into a processor. Toss in a pinch of pepper flakes, as much as you can handle, and about a tablespoon of olive oil. The olive oil is just to keep the mixture moving, not as a substanial element. The traditional method of making this dip calls for a pepperoncini pepper instead of the pepper flakes, so if you have any on hand, try one of those instead.


Pulse the processor until your chunks of are broken down, but you want a textured final product, not a smooth paste.

We are wild about this dip on warm pita trianlges, but today I was bringing the dip to serve at a potluck reception, so to avoid each person at the buffet table having to spread the dip individually, I decided to spread the dip inside of tortillas and cut them into self serve portions.

Slicing tip: Make sure to wipe the blade of your knife after each complete cut. That way you won't be spreading the schmear of the dip onto the top of the next slice. Hope you like it!